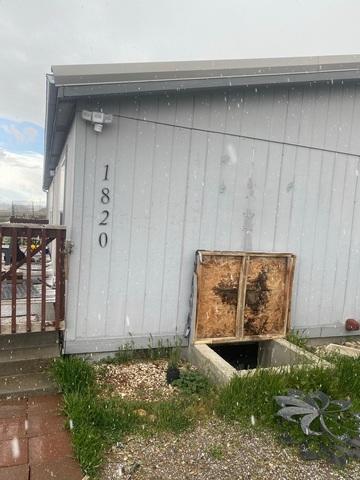
House Inspection
Our workers examine the area fully before proceeding to the next step.
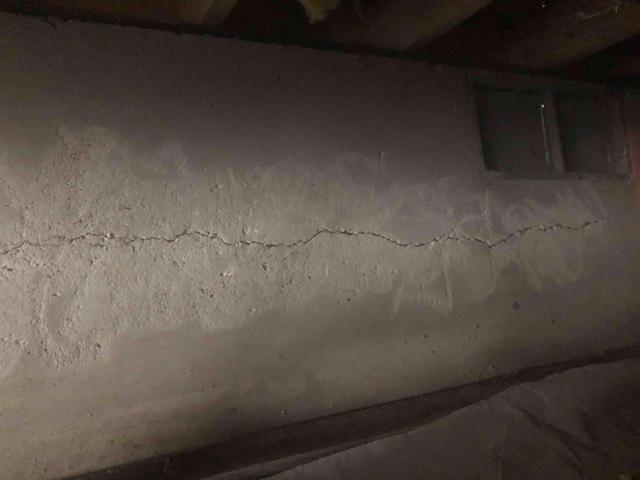
Foundation Repair
The workers take note of the evident crack in the wall in the crawl space.
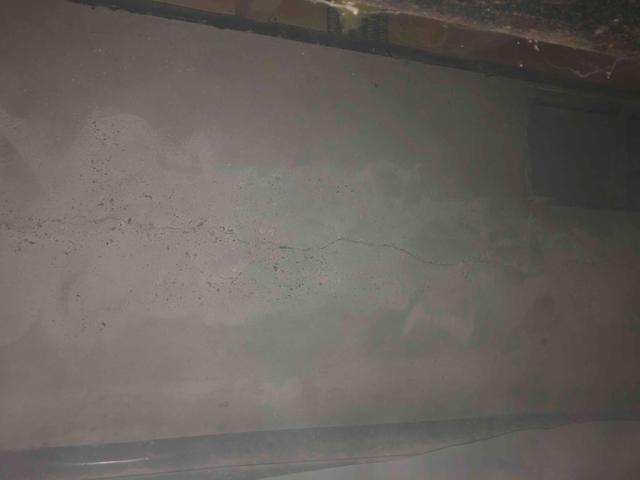
Crawl Space Repair
Our workers begin covering up the crack with a light layer of sealant.
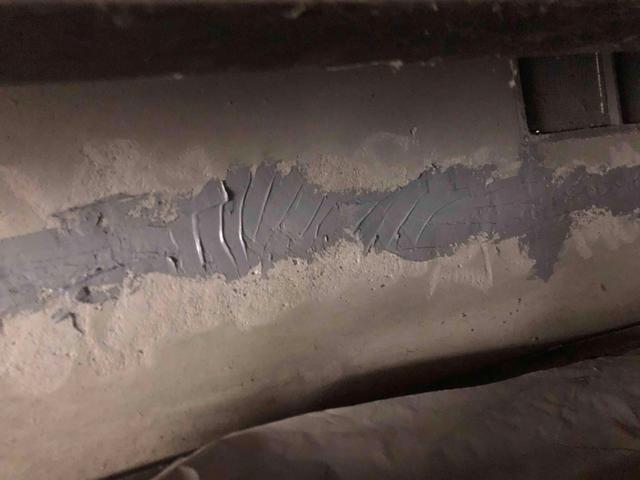
Crawl Space Encapsulation
Our workers applied a stronger sealant over time until it was time to put the CarbonArmor on.
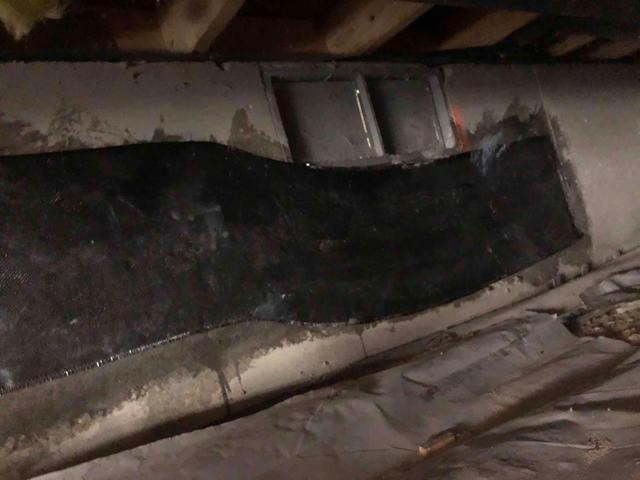
CarbonArmor Installation
To finish off, our workers apply CarbonArmor which will stabilize the foundation and prevent further leakage in the future.