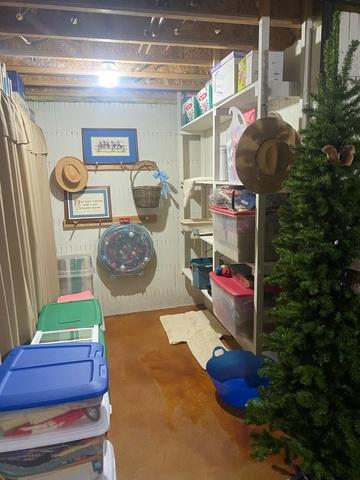
Wet Basement
The state of the basement by the time our worker had arrived.
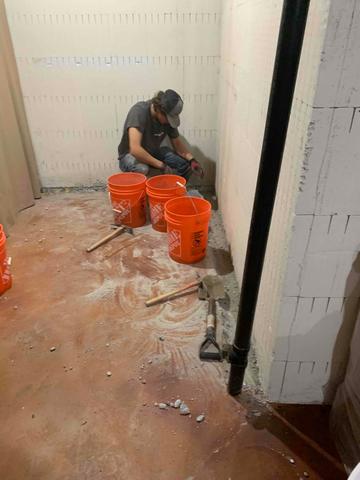
Basement Repair
The Waterguard installation process begins.
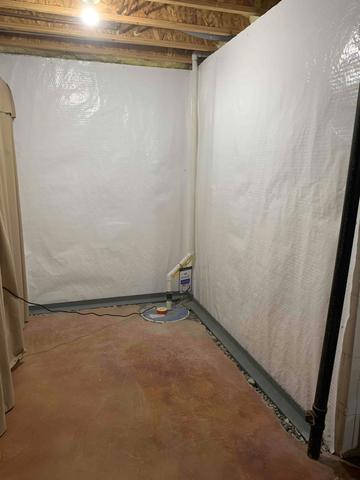
Waterguard, Cleanspace and SumpPump
A Waterguard, a Vapor Barrier, and Cleanspace is installed.
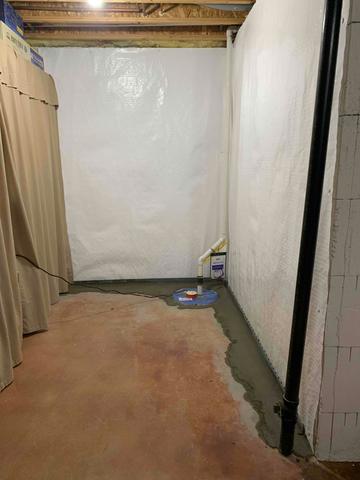
Basement Waterproofing
The Waterguard is covered with wet concrete, the walls are covered in vapor barrier, and a SumpPump is installed to assist the Waterguard in draining the water.