
Walls
Our forewoman takes note of the current situation of the basement before beginning the waterproofing process.

Foundation Repair
All of the insulation is removed before applying the cleanspace, waterguard, SilverGlo, and sump pump.
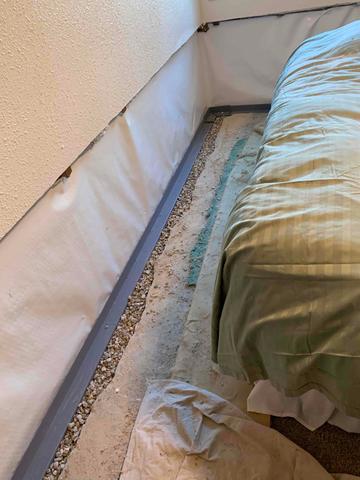
Cleanspace and Waterguard Installation
Cleanspace is applied all over the bottom walls and waterguard is installed below.
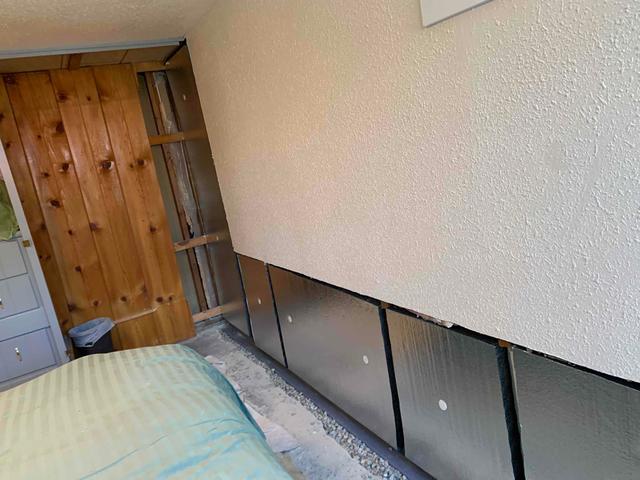
SilverGlo
SilverGlo is applied over the cleanspace to create a stronger barrier and prevent further leaks, mold, and musty smells.
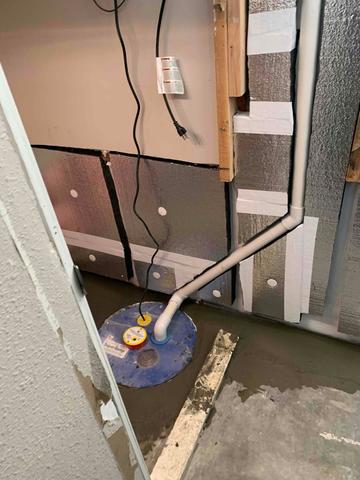
Sump Pump Installation
Finally after adding concrete over the waterguard, a sump pump is installed to drain any water now and in the future.