
Jack Hammer the Trench
Jack hammer the trench along the perimeter of the basement is one step to a successful WaterGuard install.
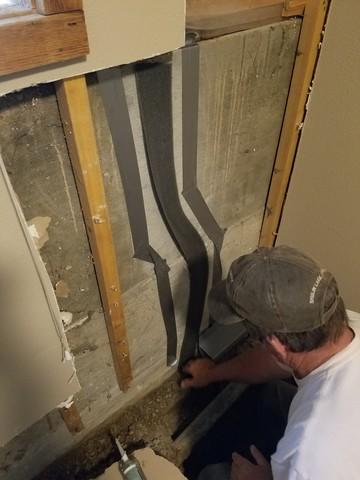
Crack Repair
The foundation wall crack is repaired with our patented FlexiSpan® Wall Crack Repair System.
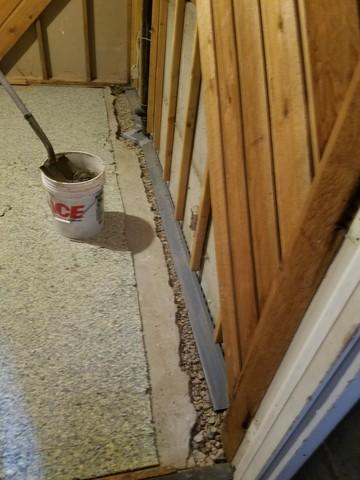
Installed WaterGuard
Installed WaterGuard is backfilled with stone.

Sump Pump and Discharge
The installed sump pump and discharge line.

Work Area
The repaired crack and installed drain outlet. We install the drain outlet and sump pump in the low spot, because water runs down hill.

Floor Reconcrete
We reconcrete the floor after installing the WaterGuard around the perimeter of the basement. We want to leave your home better than when we first met.