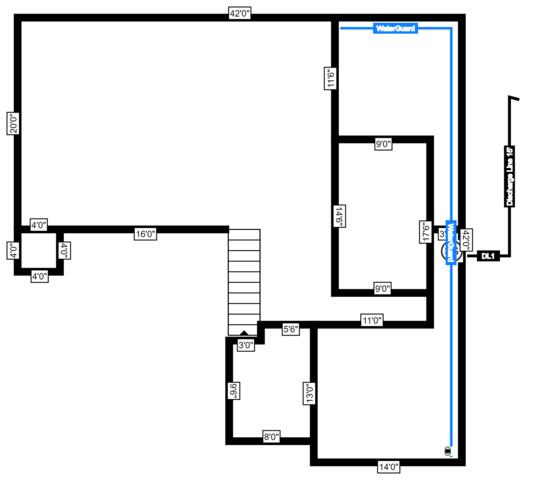
Basement Blueprints
Blueprints are made of the basement to see where what should go where.

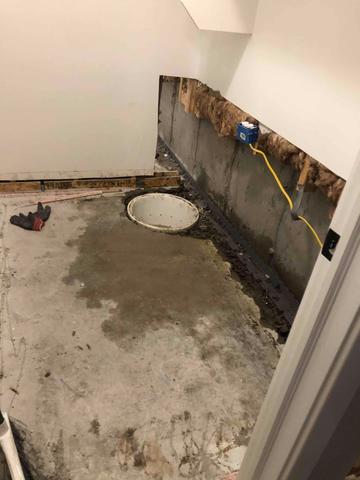
Basement Repair
Part of the basement is cleared out before the WaterGuard and SumpPump is installed.

WaterGuard Installation
Part of the floor is dug out to make room for the WaterGuard.
SumpPump and WaterGuard
A SumpPump and WaterGuard is installed.
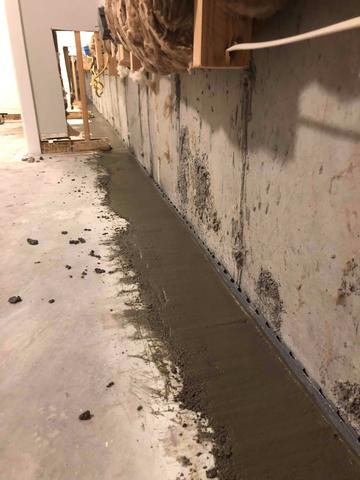
Concrete
Wet concrete is poured over the WaterGuard.