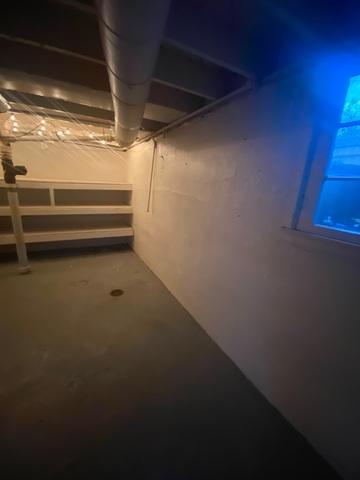
Basement
The state of the basement by the time our foremen arrived.
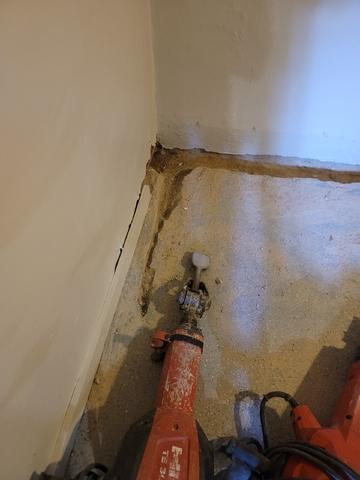
WaterGuard Installation
Our foremen use jack hammers to create space to install WaterGuard.
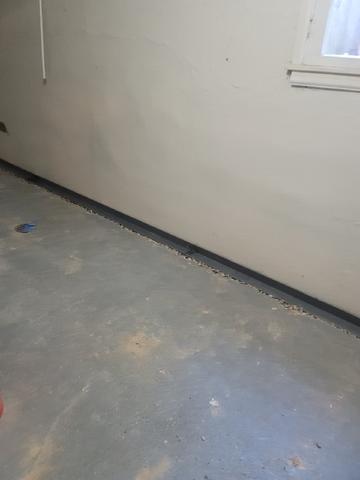
WaterGuard
WaterGuard is installed.
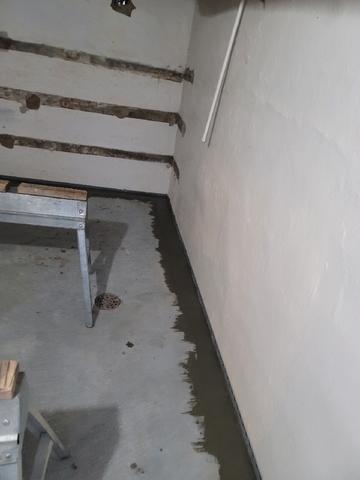
WaterGuard Completion
The WaterGuard is covered with concrete.
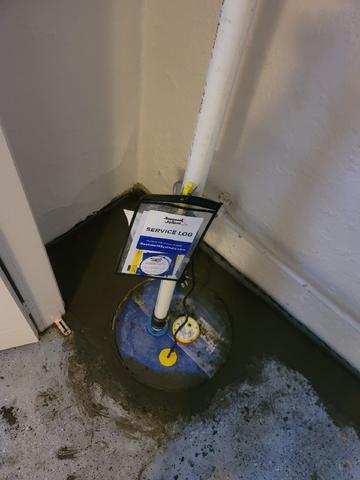
SumpPump
A SumpPump is installed to help the WaterGuard drain the water out of the basement and into the outside where it belongs.