Before
As you can see, there is no stabilization under this area of the home.

During
Here we have one of our installers removing concrete to be able to place on the pier.

Push Pier Install
Here is the push pier, as you can see it is placed to where it can be attached to the foundation to be able to stabilize.

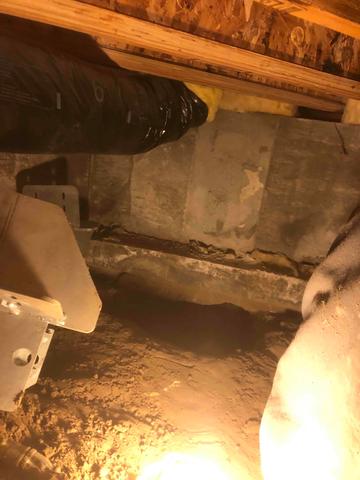
Final Product
Here is what the push pier looks like after it is fully installed.